TINMAN 3D / REALTIME TERRAIN
Software Development Kit - User Manual
You can start the demo application by running any of its executables in the binaries folder of the Tinman 3D SDK package:
bin/win.*/tinman3d_demo
To browse the source code, please open the demo application project:
ide.cpp/vs2013/Tinman3D.SDK.Cpp.sln   (Visual Studio 2013)
ide.cs/vs2013/Tinman3D.SDK.CSharp.sln (Visual Studio 2013)
Technically, each tutorial is a GUI widget (see Widgets), derived from the Tutorial class, which provides some additional convenience methods.
You can use all default key bindings of the AddOns library, which are documented here: KeyboardKey.
The demo uses default camera controls (see CameraControl), which offer these modes:
|
|
|
| Free Camera Mode | Free Camera Mode - Zoomed | Orbit Camera Mode |
To enable free camera mode, click the right mouse button or press down a bound keyboard key. To disable it, click any mouse button, the escape key or hold still for a short amount of time. While in free camera mode, WASD-like controls are used. This implies a QWERT? keyboard layout. If you have some other layout (for example AZERTY), please use the arrow keys instead (or set CameraControlFree.Azerty to true from code and recompile). Use the mouse wheel to zoom in and out. Click the middle mouse button to reset the zoom to 1x. Note that the current zoom is kept when leaving free mode; so to reset the zoom, you might have to enter free mode again.
To use the drag camera mode, click and drag the left mouse button or rotate the mouse wheel. Drag mode ends automatically after the button has been released or the mouse wheel has stopped rotating.
To use the orbit camera mode, click the right mouse button; moving the mouse will then orbit around the picked terrain spot.
|
| 3D Model on terrain |
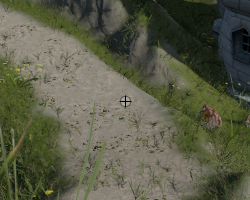
The 3D model files (see CMH) in data/demo/Models are loaded on startup. A TerrainModel can be put onto the ground by clicking anywhere onto the terrain with the middle mouse button. Use the [PageUp] and [PageDown] keys to toggle through the available 3D models.
The demo application streams all its geodata over the internet, and caches the downloaded data locally in the SDK folder:
temp/Tinman3D.Demo/datasets.hgc
temp/Tinman3D.Demo/*/textures.pyc
Please be patient when you run the demo for the first time, since all caches need to be warmed up from the internet. Later the demo will start quickly.
The dataset and texture caches are realized by these classes:
The tutorials use bookmarks to store the current settings and view. If you exit the demo application, the current settings are serialized (JSON files). Upon next start, the settings are restored and you will be put back to where you left the demo.
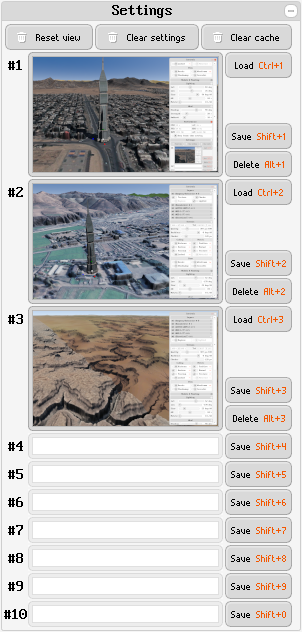
Some tutorial have some initial bookmarks (e.g. interesting places), so make sure to check the SettingsGui component of each tutorial:
|
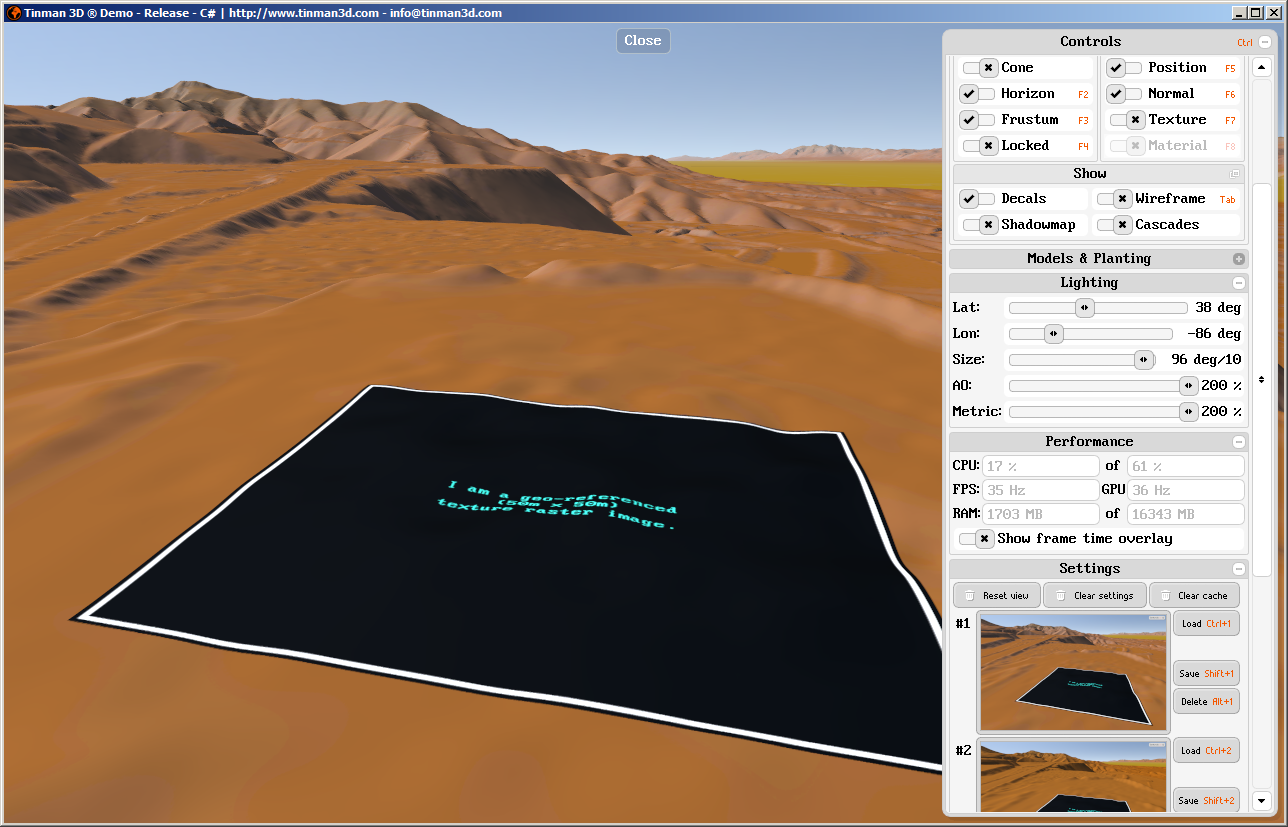
The shared SettingsGui component: Use the Load/Save/Delete buttons for manage the predefined bookmakrs #1 .. #10. Use the "Reset view" button to restore the default camera location. Use the "Clear settings" button to start with fresh settings (will also reset the view). Use the "Clear cache" button the discard all data in the persistent caches. Geodata then needs to be streamed in again over the internet. The screenshots are generated with IGraphicsContext.ReadPixels and rendered with the ImageView component. |
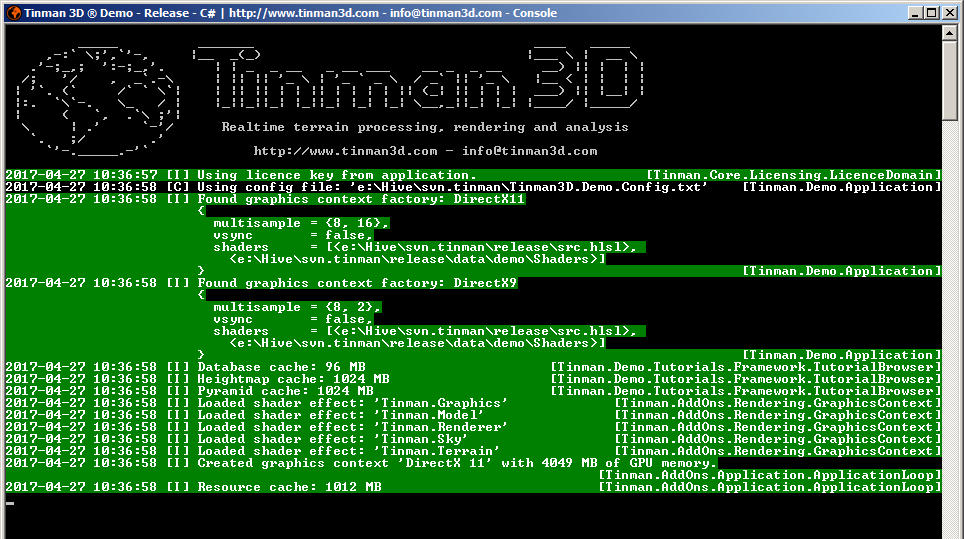
The demo opens a separate console window and logs messages to it. Please keep an eye on these log messages, as the demo does not use "Please Wait" screens. If the demo seems to be "hanging", the logs should explain what is currently going on.
|
| Demo Application - Console Window |
If you close the console window, this will forcibly terminate the demo application.
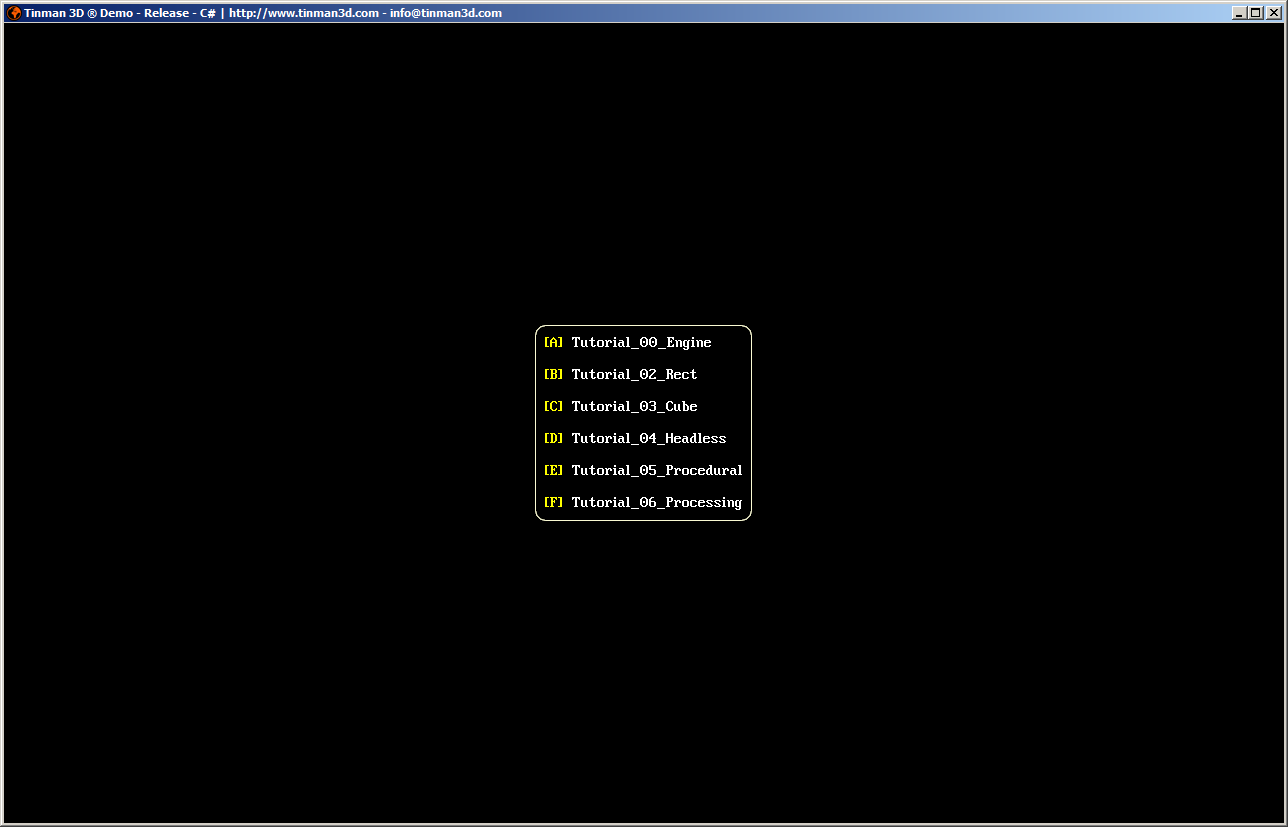
If you run the demo application for the first time, you will see the TutorialBrowser.
|
| Demo Application - Tutorial Browser |
Press one of the indicated buttons to run the respective tutorial.
| Key | Description |
|---|---|
[A] |
Runs the chosen tutorial. |
[Esc] |
Exits the demo application. |
[Backspace] |
Exits current tutorial only and returns to the tutorial browser. |
|
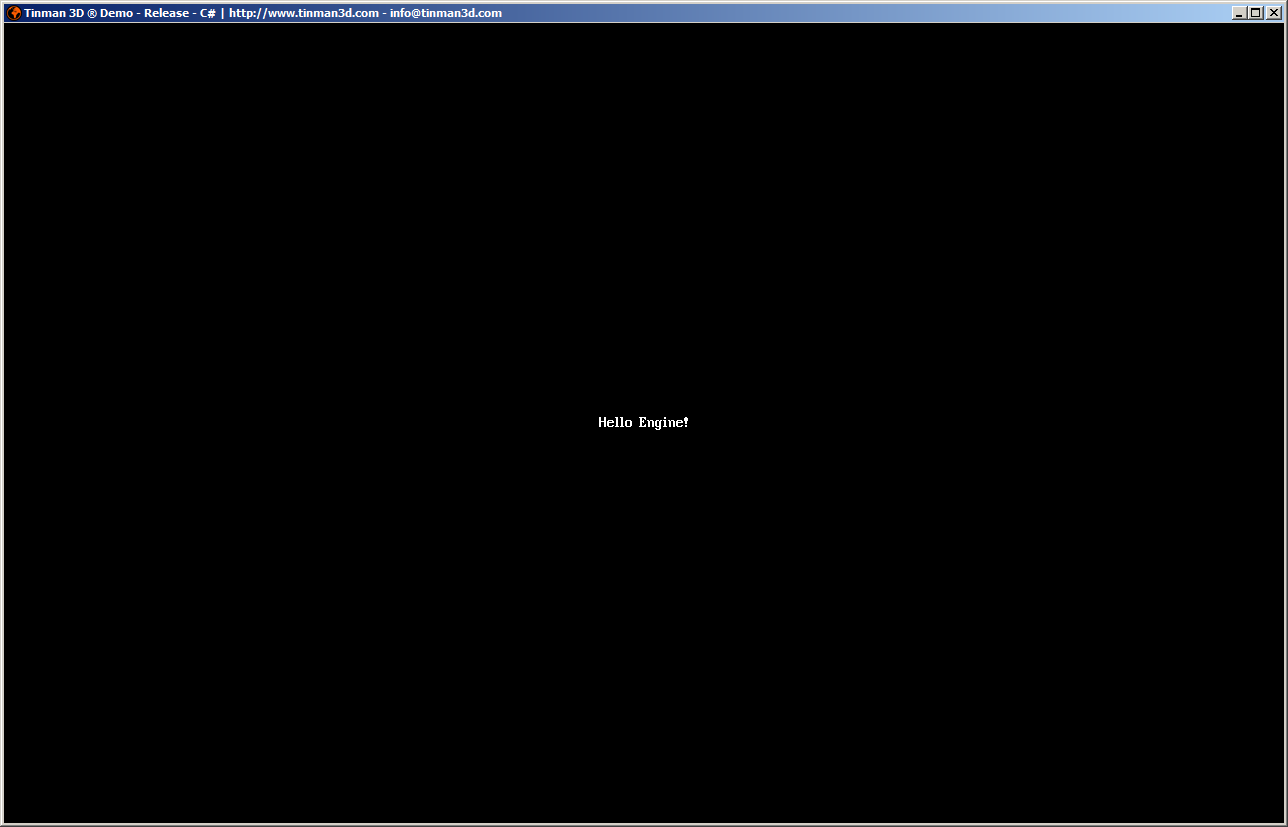
| Demo Application - Tutorial_00_Engine |
The Tutorial_00_Engine tutorial demostrates how to use the AddOns library to create a simple application.
It also shows how to generate licence requests for User and Domain licences (see Licensing and Pricing).
The Tutorial_01_TerrainMesh tutorial shows how to use the TerrainMesh API.
It is an abstract base class and cannot be run. Run the derived tutorials instead.
|
| Demo Application - Tutorial_02_Rect |
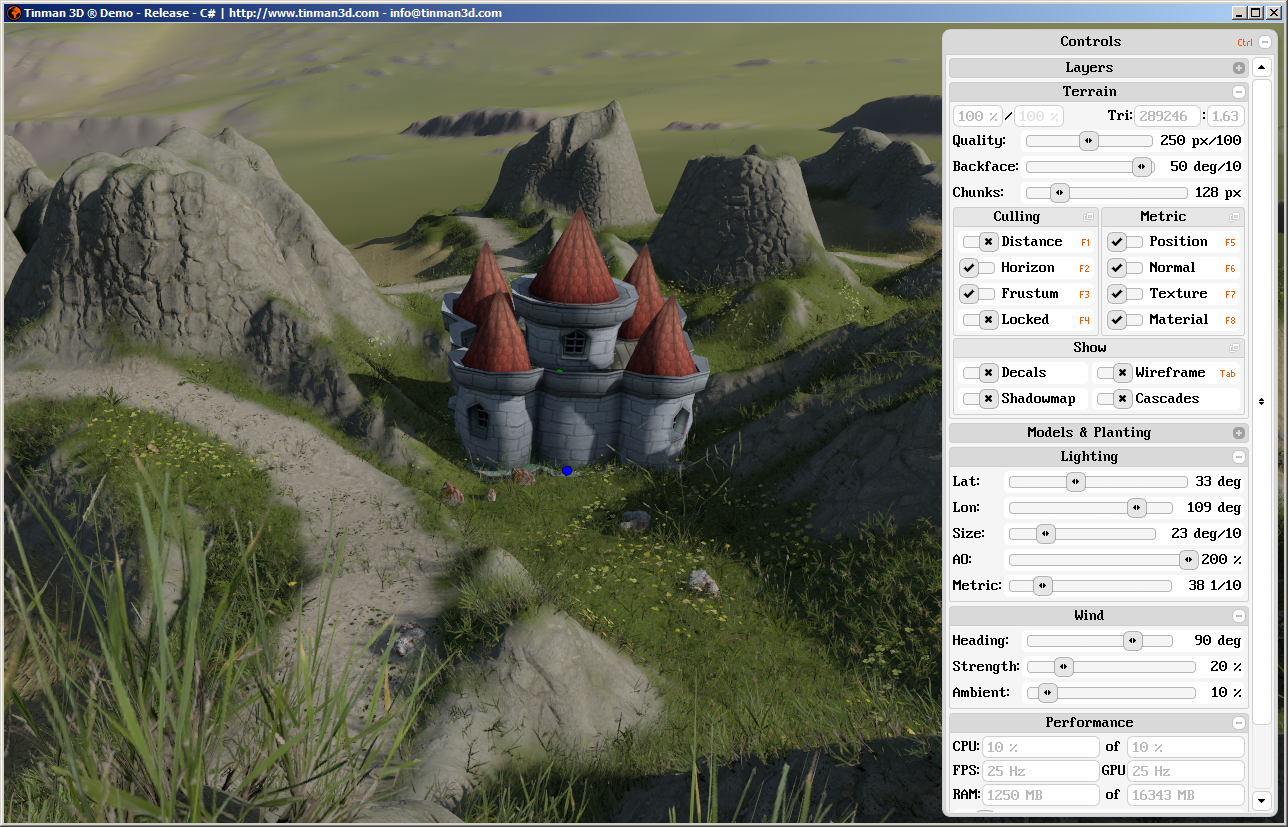
The Tutorial_02_Rect is derived from Tutorial_01_TerrainMesh and renders a rectangular terrain.
The base terrain is created from the WorldMachine geodata example. The corresponding raster dataset has a resolution of 16385 x 16385 samples.
The tutorial uses a sparse raster dataset of 1.048.577 x 1.048.577 samples to augment the base terrain with additional local details and features.
The RacingTrack geodata example has been used as a heightmap brush (of size 4096 x 4096 pixels) to paint some content into the detail raster dataset (see default bookmark #1).
|
| Demo Application - Tutorial_03_Cube |
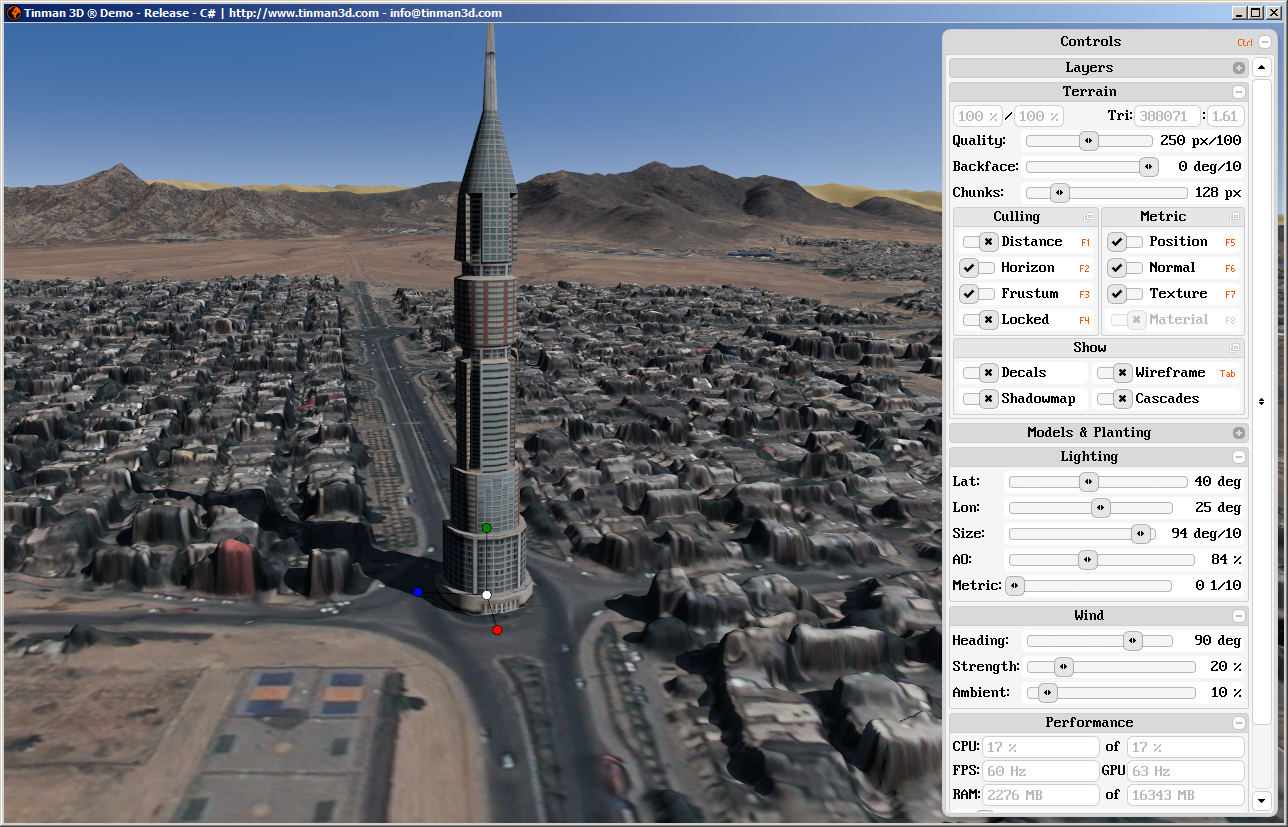
The Tutorial_03_cube is derived from Tutorial_01_TerrainMesh and renders a planetary terrain.
Many of the Geodata Examples for Earth are consumed by this tutorial and merged at runtime.
The Earth surface is based on the WGS84 ellipsoid and the EGM96 gravitational model.
The tutorial exposes several terrain layers (see TerrainLayer), which can be configured view the tutorial controls GUI.
The layer (#1 <Imagery/...> @ 0) sources its data from various locations. Use the [Home] and [End] keys to toggle through the available sources.
|
| Demo Application - Tutorial_04_Headless |
This tutorial shows how to use the Tinman 3D SDK in a headless environment without performing rendering.
|
| Demo Application - Tutorial_05_Procedural |
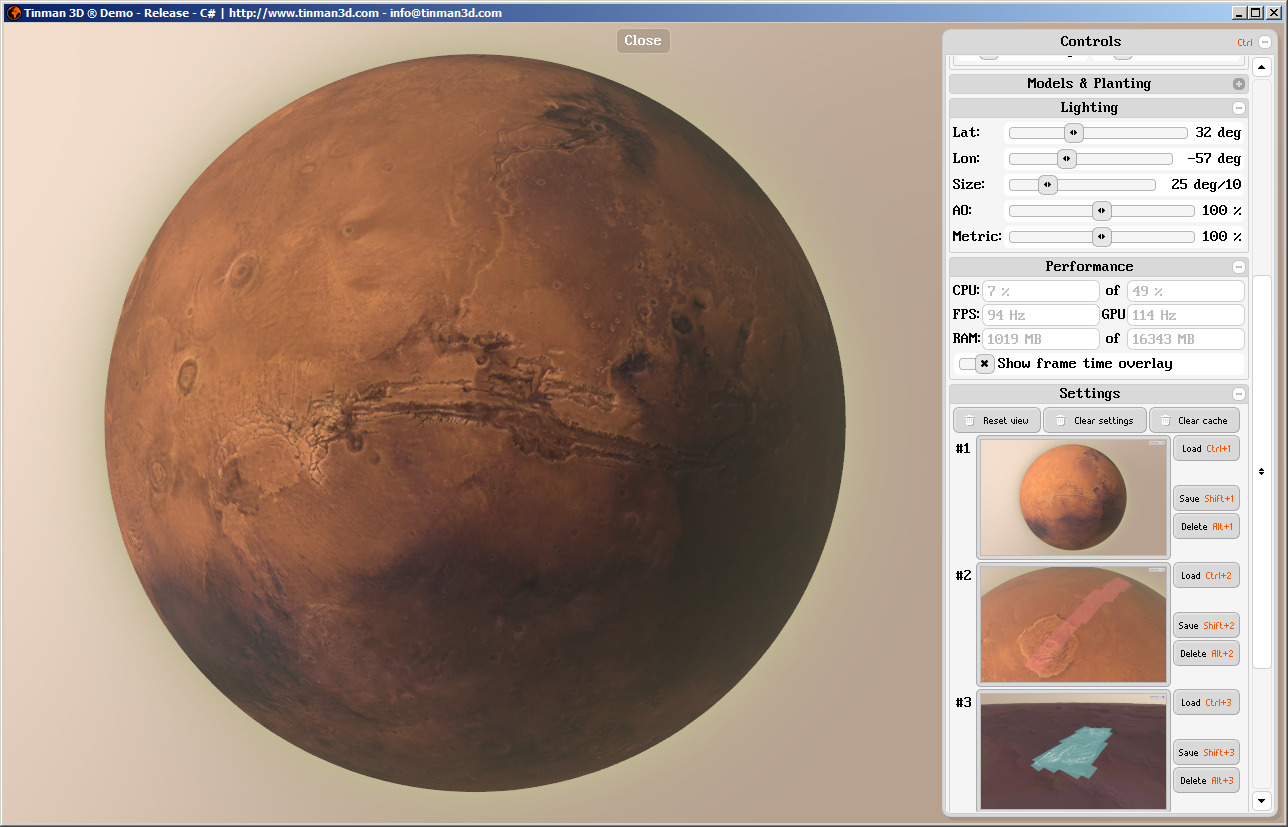
The Tutorial_05_Procedural is derived from Tutorial_01_TerrainMesh and renders a planetary terrain.
Many of the Geodata Examples for Mars are consumed by this tutorial and merged at runtime.
The surface is augmented with procedural detail, on top of real remote-sensing data.
|
| Demo Application - Tutorial_06_Processing |
The Tutorial_06_Processing is derived from Tutorial_01_TerrainMesh and renders a planetary terrain.
It demonstrates how to use the Tinman 3D SDK to process some geodata and render it on a geo-referenced terrain.