Demo Application
You can start the demo application by running any of its self-contained executables in the binaries folder of the Tinman 3D SDK package:
bin/win.*/tinman3d_demo*

To browse the source code, please open the demo application project:
ide.cpp/vs/Tinman3D.SDK.Cpp.sln   (Visual Studio)
ide.cs/vs/Tinman3D.SDK.CSharp.sln (Visual Studio)
Technically, each tutorial is a GUI Widget, derived from the Tutorial class, which provides some additional convenience methods.
| Running the demo application after building it from the source code will fail, because of a missing licence key. If you would like to evaluate the Tinman 3D SDK, please refer to the log messages, which contain the information that is required to do so. |
Streaming
The demo application streams all its geodata over the internet, and caches the downloaded data locally in the SDK folder:
temp/Tinman3D.Demo/datasets.hgc
temp/Tinman3D.Demo/*/textures.pyc
Please be patient when you run the demo for the first time, since all caches need to be warmed up from the internet. Later the demo will start quickly.
The dataset and texture caches are realized by these classes:
-
DatasetFileCache, managed by the Tutorial class.
-
PyramidFileCache, managed by the TerrainBuffer class.
Console
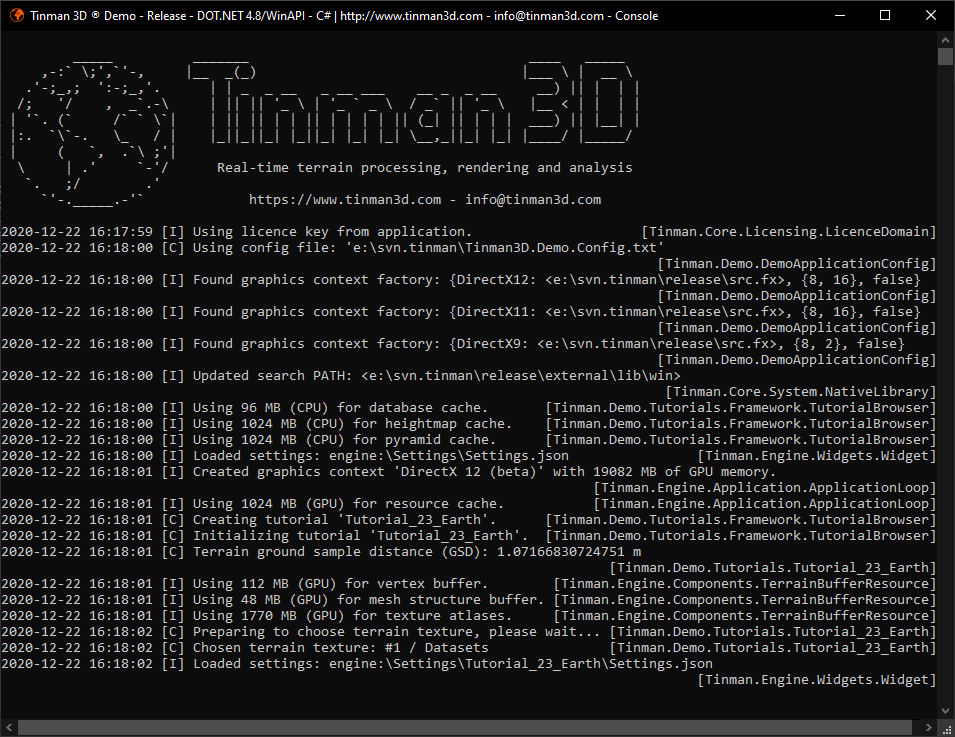
The demo opens a separate console window and logs messages to it. Additionally, log messages are written to a logfile:
%USERPROFILE%\tinman3d_demo.log (1)
| 1 | On Windows systems |

| Please keep an eye on these log messages, as the demo sparingly uses "Please Wait" screens. If the demo seems to be "hanging", the logs should explain what is currently going on. |
| When clicking into the console window, some operating systems (e.g. Windows) start a copy & paste operation, which might suspend the process. |
| If you close the console window, this will forcibly terminate the demo application, which might cause corruption to dataset and texture cache files. |
Tutorial Browser
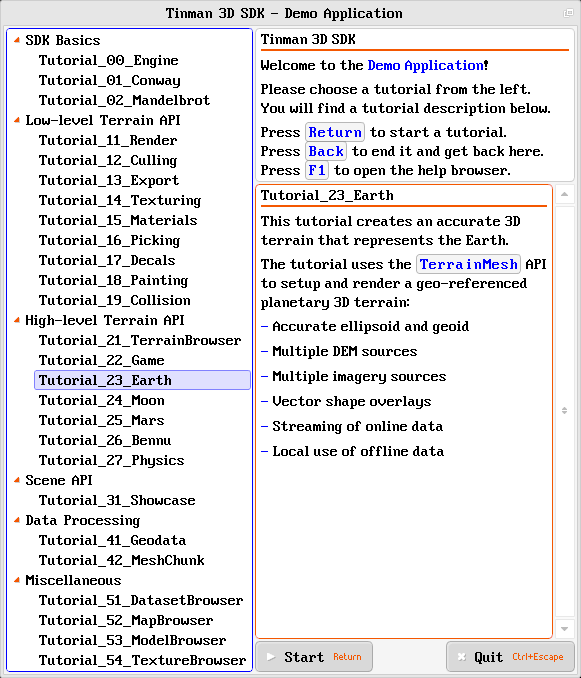
If you run the demo application for the first time, you will see the TutorialBrowser widget, wrapped in a custom GUI dialog (see Example_WidgetDialog).

Please follow the instructions to start any of the tutorials.
Help Browser
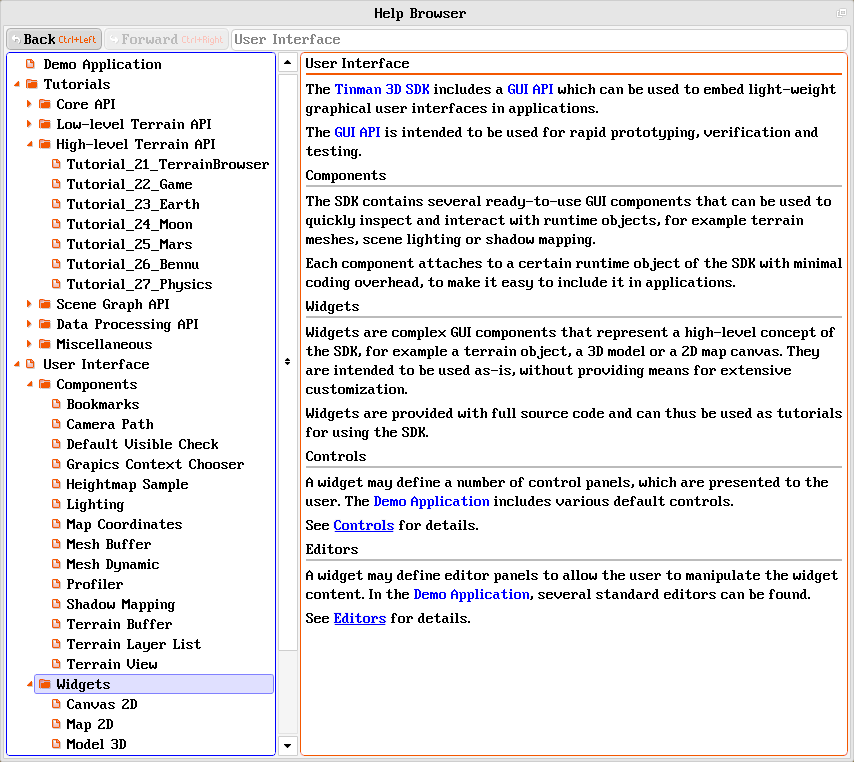
Each tutorial has a built-in help browser, which can be activated by pressing F1.
| The content of the help browser is included in this documentation. Please navigate to the child pages to open it. |

Code-X Workflow
As an example, the Code-X Workflow has been pre-configured for the demo application. Please refer to the following Code-X project file for details on how to run the Code-X Processor tool:
codex/CodeX.xml
| The Code-X workflow only generates the AddOns and Demo components. |
Running the workflow will first parse and inspect the Code-X compliant source code. Upon success, fully functional C++, GLSL and HLSL source code is generated.
The following command-line helpers exist in the codex/ SDK folder:
-
CodeX.check.cmd
Executes the check command on the project file and redirects workflow messages to the error file. -
CodeX.run.cmd
Executes the run command on the project file and redirects workflow messages to the error file. -
Errors.txt
This is the error file which the workflow message output is redirected to by the command-line helpers.Running the workflow with the latest stable build will generate messages in this file ("Incomplete native CPP code for …"). This is the expected behaviour, because the build does not include C++ source code. The workflow will generate placeholder content for the native code regions. To generate functional code, please use the latest official release.
A typical development cycle then looks like this:
-
Author Code-X compliant C# source code, using the IDE of your choice.
Seeide.cs/in the SDK. -
Run the Code-X workflow. If there are any errors or problems, go to 1. and fix.
-
Compile the generated C++ source code, using the IDE of your choice.
Seeide.cppin the SDK. -
Compile the generated HLSL source code, using the IDE of your choice.
Seeide.hlslin the SDK. -
Author C++ source code and run 1. again, in order to extract modified native code regions and to update the output
.psi/.apifiles accordingly.
Debug Helpers
The main entry point of demo application demonstrates how to configure the built-in debug helpers, by setting them to their respective default value.
Please refer to the source code of Program.Run for details.